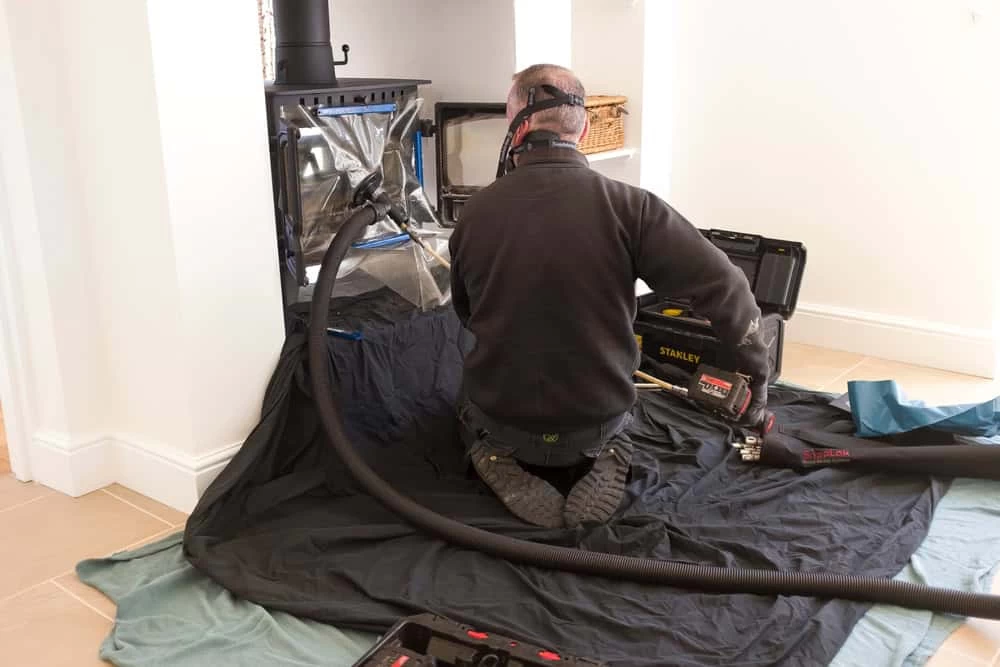
Understanding the professional paver installation process helps you make informed decisions about your outdoor project and recognize quality workmanship when you see it.
Share:
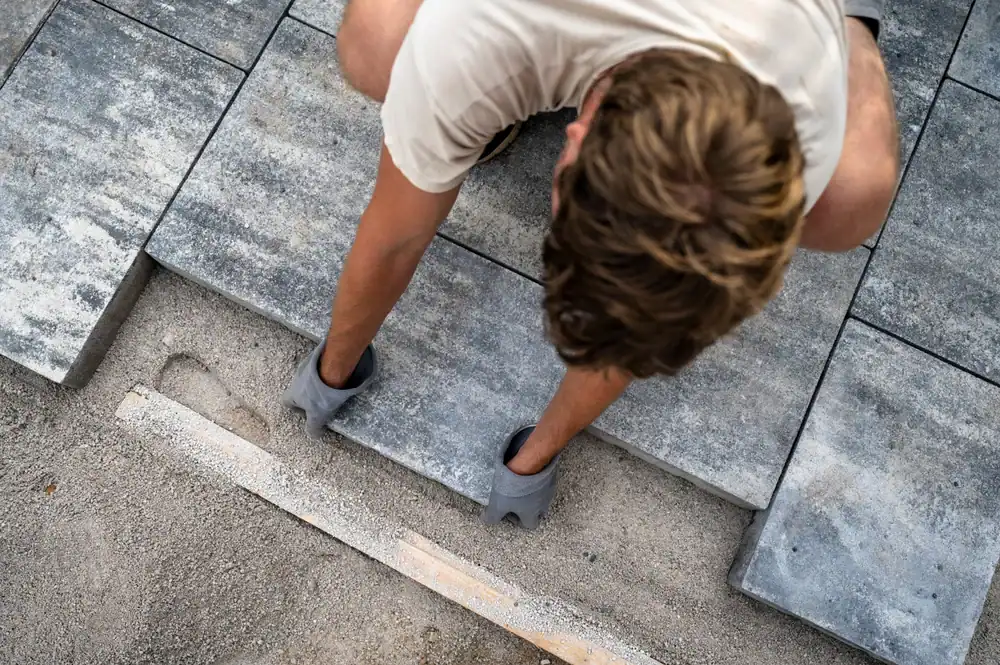
You’ve seen the Paver patios in your neighborhood that look perfect after ten years and the ones that started sinking after two winters. The difference isn’t the pavers themselves—it’s everything that happens before and during installation. Professional paver installation follows a specific process designed to handle Nassau County’s sandy soil, coastal moisture, and brutal freeze-thaw cycles. Each step builds on the last, creating a system that either works together or fails together. Understanding this process helps you recognize quality work, ask the right questions, and make decisions that protect your investment for decades.
The paver installation process involves multiple stages that work as an integrated system. Most homeowners focus on the visible result—the pattern, color, and layout of the pavers themselves. But we know the real work happens in the layers you never see.
A proper installation starts below ground level and builds upward through distinct phases. Site preparation and excavation remove existing materials and create space for the foundation. Base preparation establishes the stable platform that supports everything above it. Bedding sand provides the leveling layer that allows precise paver placement. Edge restraints lock the system together and prevent spreading. Finally, joint sand fills the gaps and creates the interlock that gives pavers their strength.
Each phase requires specific materials, techniques, and quality control. Skip a step or cut corners on materials, and you’re building problems into your patio from day one. That’s why professional installation costs more than DIY approaches—you’re paying for the knowledge of how these layers work together under real-world conditions.
Excavation determines whether your paver installation survives its first winter or starts failing immediately. Nassau County’s conditions demand deeper excavation than many regions because of our soil composition and freeze-thaw cycles.
We typically excavate 8 to 12 inches deep for patios and walkways, with driveways requiring even more depth to support vehicle weight. This isn’t arbitrary—the depth accounts for the compacted base layer, bedding sand, and the pavers themselves, while ensuring the finished surface sits at the correct elevation relative to your home’s foundation and existing grade.
The excavation process also addresses drainage from the start. We create a slight slope away from your house—typically about one inch of drop for every four to eight feet of horizontal distance. This gradient seems minimal, but it’s critical for moving water away from the paved surface and preventing the pooling that leads to frost heave and base erosion.
Long Island’s sandy and clay-heavy soils present unique challenges during excavation. Sandy areas drain well but lack stability, while clay holds water and expands during freeze cycles. We adjust our approach based on what we encounter during excavation, sometimes going deeper in problem areas or incorporating drainage solutions before moving to the base layer.
The excavation phase also includes removing any existing concrete, old pavers, or debris that could compromise the new installation. Tree roots get addressed at this stage too—leaving them in place guarantees future problems as they continue growing beneath your pavers.
Proper excavation takes time and creates a significant amount of material that needs removal from your property. Contractors who rush this phase or don’t excavate deep enough are building failure into your project. The base can’t compensate for inadequate excavation depth, and you’ll see the results within a few seasons as pavers start settling unevenly or heaving during winter.
The base layer is where most paver installations succeed or fail. This compacted aggregate foundation does the actual work of supporting your pavers, distributing weight, managing drainage, and resisting frost heave. Get it wrong, and nothing else matters.
Professional installations use crushed stone or gravel—typically three-quarter inch minus material—that contains a mix of stone sizes from larger pieces down to fines. This gradation is critical because it allows the material to compact tightly and lock together. Clean gravel without fines won’t compact properly, while material with too many fines won’t drain adequately.
The base goes down in layers, not all at once. We spread two to three inches at a time, compact it thoroughly with a plate compactor, then add the next layer. This process continues until reaching the target depth—usually four to six inches for patios and six to ten inches for driveways. Each layer must be compacted before adding the next, because trying to compact six inches of loose stone in one pass doesn’t work. The bottom layers remain loose while only the top compacts, creating a weak foundation that settles over time.
Compaction is where many DIY projects and cut-rate contractors fail. A hand tamper doesn’t create the same density as a proper plate compactor. The difference shows up within a year as the base settles and pavers sink into low spots or become uneven. Professional-grade compaction creates a base so solid you can’t easily push a shovel into it.
Nassau County’s freeze-thaw cycles make base preparation even more critical. Water that penetrates into a poorly compacted base freezes, expands, and heaves the pavers above it. When temperatures rise, the ice melts and the base settles—but not evenly. This cycle repeats dozens of times each winter, progressively destroying installations that lack proper base preparation.
The base layer also handles drainage. Properly compacted aggregate allows water to percolate through it rather than pooling beneath your pavers. This drainage capacity works with the slope established during excavation to move water away from the paved surface and prevent the saturation that leads to frost damage.
Once the base is prepared and compacted, the installation moves to the bedding sand layer and actual paver placement. This phase requires precision because it determines the final surface quality and how well pavers interlock.
The bedding sand—typically coarse concrete sand, not fine play sand—goes down in a uniform one-inch layer over the compacted base. This sand provides the leveling bed that allows installers to set each paver at exactly the right height. The sand must be screeded flat using guide rails to ensure consistent thickness across the entire area.
We never step on the screeded sand before placing pavers. Walking on it creates depressions that translate into uneven surfaces. We work from the pavers we’ve already placed, laying new ones forward in a methodical pattern. Each paver gets placed straight down onto the sand—never slid into position, which disturbs the leveled bed beneath it.
Edge restraints are the hidden component that holds everything together. Without proper edging, pavers gradually spread outward from traffic, temperature changes, and ground movement. The gaps between pavers widen, joint sand washes out, and the entire installation loses its structural integrity.
Professional installations use rigid plastic or metal edge restraints anchored into the compacted base—not the sand layer—with steel spikes driven at angles. The restraints sit against the outer edge of the perimeter pavers, creating a physical barrier that prevents outward movement. For high-traffic areas like driveways, we use heavy-duty restraints with spikes every eight to twelve inches.
The timing of edge restraint installation matters. Some installers place restraints before laying pavers, using them as guides for the paver field. Others install them after the main paver area is complete but before final compaction. Both approaches work when done correctly, but the restraints must always anchor into the base layer, not just the sand.
Nassau County’s freeze-thaw cycles put tremendous pressure on edge restraints. As the ground freezes and expands, it pushes against the paver edges. Inadequate restraints fail under this pressure, allowing pavers to shift. Within a season or two, you’ll notice gaps forming along the perimeter—the first sign of edge restraint failure that only gets worse over time.
Proper edge restraint installation includes backfilling behind the restraints with soil or stone dust, then compacting this material. This backfill provides additional support and prevents the restraints from being pushed inward by surrounding soil pressure. The restraints should end up slightly below the finished paver surface so they’re not visible but still provide full support to the edge pavers.
Many homeowners don’t realize their installation lacks proper edge restraints until problems develop. The restraints are buried and invisible once the project is complete. But their presence—or absence—determines whether your paver installation maintains its shape and stability for decades or starts failing within a few years.
The final phase of paver installation involves filling the joints between pavers and performing a final compaction that locks everything together. This finishing work completes the interlock system that gives paver installations their strength and durability.
Polymeric sand has largely replaced regular sand for joint filling in professional installations. This specialized product contains polymers that activate when moistened, creating a semi-rigid joint that resists washout, prevents weed growth, and inhibits ant colonization. Regular sand washes out over time, requiring frequent replacement and allowing weeds to establish in the joints.
The polymeric sand gets swept across the paver surface, filling the joints from top to bottom. We make multiple passes, sweeping sand into the joints, then using a plate compactor to vibrate the pavers and settle the sand deeper. This process continues until the joints are completely filled to within about an eighth inch of the paver surface.
The final compaction serves multiple purposes. It settles the pavers into the bedding sand, eliminating any minor height variations. It densifies the joint sand, ensuring complete filling with no voids. And it activates the interlock between adjacent pavers, creating the mechanical bond that distributes loads across the paver field rather than concentrating stress on individual units.
After compaction, we sweep the surface completely clean of any residual sand. This step is critical when using polymeric sand—any material left on the paver surface will haze and bond to the pavers when activated with water. Once the surface is clean, a light misting with water activates the polymers in the joint sand. The installation then needs to cure undisturbed for 24 to 48 hours.
We understand the nuances of polymeric sand application. Too much water washes the polymers out of the joints. Too little water doesn’t activate them properly. Temperature and humidity affect curing time. Rain within the first few hours can ruin the installation. These variables explain why we check weather forecasts before scheduling the final phase of installation.
The joint sand completes the system that started with excavation and base preparation. Every layer works together—the compacted base provides stability, the bedding sand allows leveling, the pavers create the surface, the edge restraints prevent spreading, and the joint sand locks it all into an integrated whole. Remove or compromise any component, and the entire system weakens.
The paver installation process isn’t complicated, but it demands attention to detail at every phase. Each step builds on the previous one, creating a system where every component plays a specific role. Proper excavation creates space and establishes drainage. Thorough base preparation provides stability and frost resistance. Precise sand bedding allows accurate leveling. Solid edge restraints prevent spreading. Complete joint filling activates the interlock.
Nassau County’s climate doesn’t forgive shortcuts. Freeze-thaw cycles, coastal moisture, and soil conditions expose every weakness in the installation process. The projects that last decades follow the same fundamental steps—deep excavation, properly compacted base, correct bedding sand thickness, secure edge restraints, and complete joint filling. The installations that fail within a few years cut corners on one or more of these phases.
Understanding this process helps you evaluate contractors and recognize quality work. When you know what questions to ask about base depth, compaction methods, and edge restraint systems, you can distinguish between professionals who do it right and those who take shortcuts. At Ageless Chimney, we bring the expertise and attention to detail that separates installations that last from those that fail, handling Long Island’s demanding conditions with the professional approach your investment deserves.
Article details:
Share:
Continue learning: